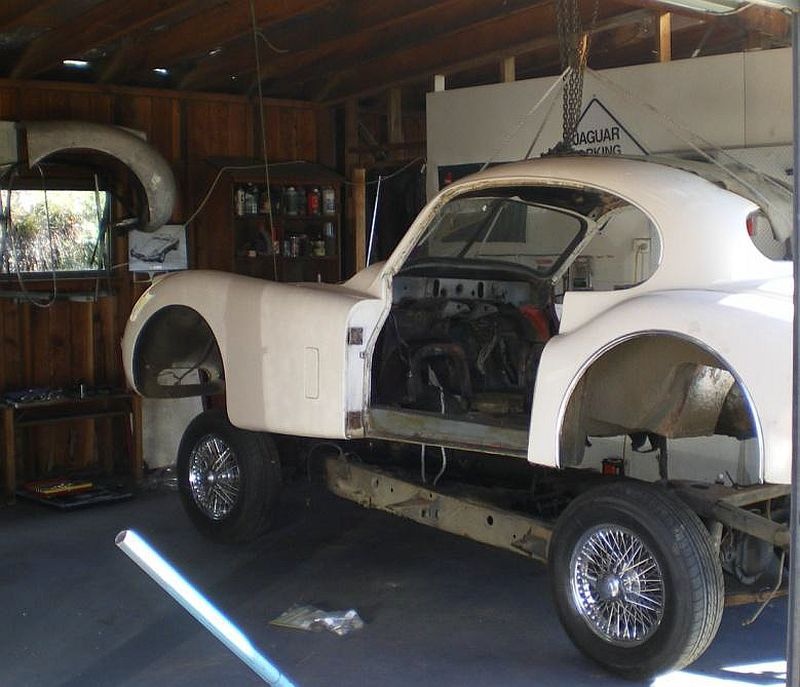
 I thought the best way to tell this story is visually, with some text to provide a little detail. A full restoration is a big task, usually taking longer and costing more than most pessimistic estimates. I’m fortunate in that Gail shared my belief that the car deserved saving, so here is part of the tale of 804182. Fortunately, there was little body rust, as lifting a rusty, open car body off a chassis can result in the unplanned separation of the two key halves, joined by the sills.
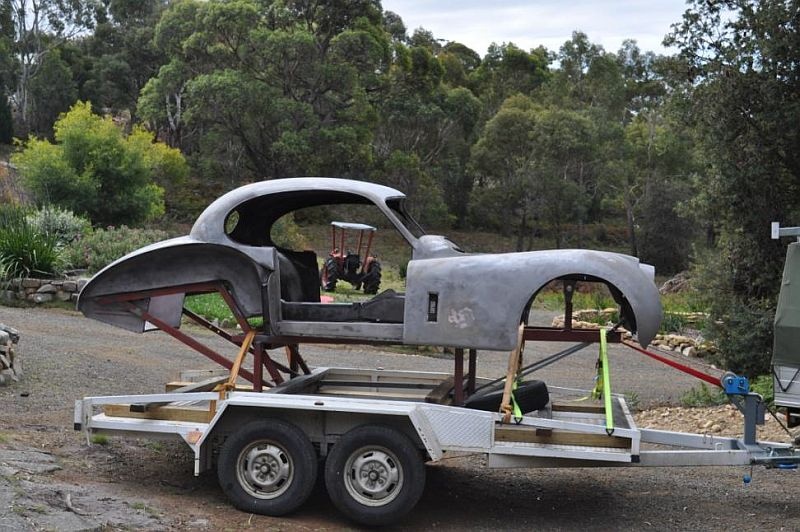
It was then off to the soda blasters to remove the paint on a trolley I had built to keep it all aligned.
 Once back from the soda blasters, I contemplated tackling the body work myself, but in the end opted for using a local panel beater/ spray painter, Gary Arnol, at Triabunna, as he had already completed excellent work recently on member David Scott’s MG V8. This was to be the start of a long and exacting process to ensure straight panels, excellent panel gaps and finally shiny new paint.
 This is an example of work on one panel, replacing the under-bonnet joining piece between the front wings. These frequently split over time so in our case replacement with new was the best option. The bonnet was bolted back in place and wings aligned to get the correct gaps. This one panel ended up taking several days’ work, over the bodywork restoration to ensure it was right.
 The photo opposite shows the fitting of the door, with the rear wings temporarily in place. I was able to work on the car with Gary from time to time; replacing things like the captive nut assemblies on the wing to body join, and cleaning underseal the soda blasting couldn’t budge etc. Many hours were spent cleaning, flattening and sanding outside, inside and underneath.
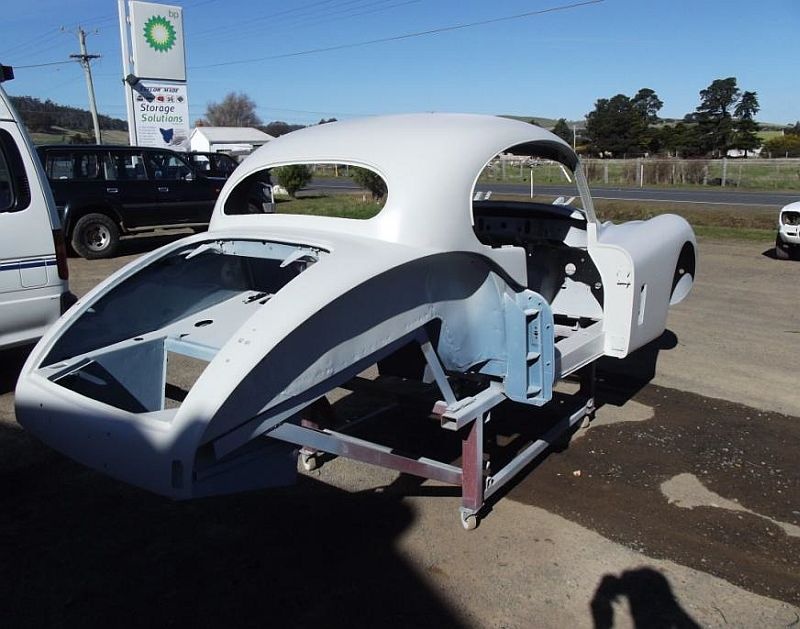
 Six months after work commenced, the car was in etch primer and the panels were all repaired and in the right place. Some small areas of rust in the inner sills had been cut out and new metal welded in. The aluminium bonnet also had some stress cracks on the bracing panels, which were re-welded.
 I hadn’t realised just how many hours of effort goes in to ensuring a perfectly smooth panel that lines up with the rest of the car. The aluminium bonnet and boot lid were particularly time consuming. I loaned Gary my XK originality guide book which proved invaluable. We chose not to use lead filler, but instead an aluminium-based filler used judicially, along with a skim of micron -thin polyester. This avoids any possible contamination of the lead flux with paints that can cause problems after painting if they are not totally removed. We have also chosen a two pack, solid colour to ensure a durable finish.
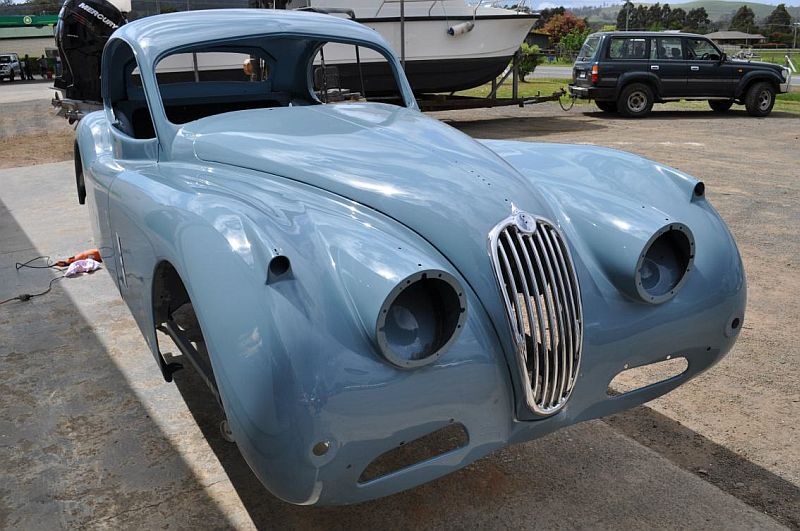
The car has now been painted, finished in Jaguar Pastel Blue, an original colour. Getting the right colour was a major task, as most modern paints didn’t have a code for 1950’s colours. I sent a painted sample of a PPG code to Jaguar historian John Elmgreen in Sydney, who has the original Jaguar factory samples to compare with. John was extremely helpful and I feel the final colour will be a very good match. Now to put it all back together.
 Dale Pearce – JCCT Snr Vice President
![]()